Introduction
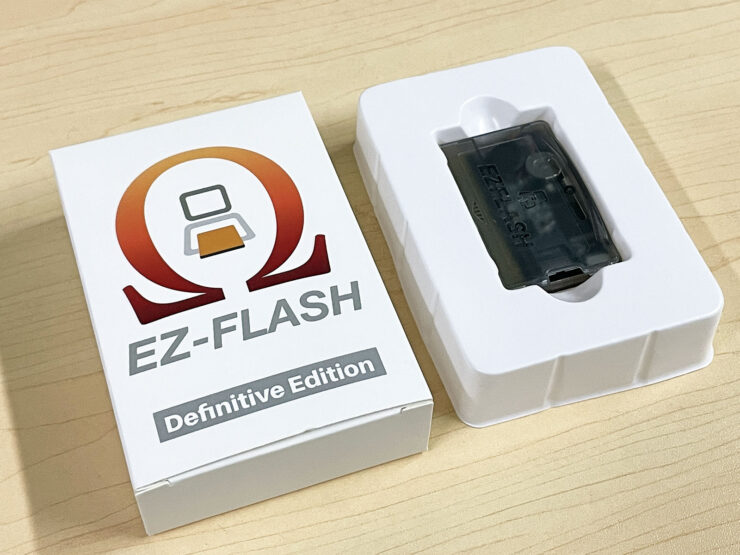
The EZ Flash Omega Definitive Edition is an advanced flashcart designed for the Game Boy Advance (GBA) system. It allows players to load and play a wide range of GBA, Game Boy Color (GBC), and Game Boy (GB) homebrew games, as well as use various homebrew applications. Setting up the EZ Flash Omega Definitive Edition can be an exciting process for new users. This guide will walk you through the steps to get your flashcart ready for use.
What You Need
- EZ Flash Omega Definitive Edition Cartridge
- MicroSD Card: Preferably Class 10 for better performance.
- MicroSD Card Reader: To connect the MicroSD card to your computer. - Included!
- Computer with Internet Access

Setup Process
Step 1: Preparing the MicroSD Card
- Format the MicroSD Card: Insert the MicroSD card into your computer using the card reader. Format the card to FAT32. This can be done using your computer's built-in formatting tools.
Step 2: Downloading Firmware and Software
- Visit the Official EZ Flash Website: Go to the official EZ Flash website to download the latest firmware.
- Download Firmware: Look for the firmware specific to the Omega Definitive Edition and download it.
- Download Additional Software: If you wish to use special features like cheats or real-time clock, download any relevant software or patches from the website.
Step 3: Installing Firmware on the MicroSD Card
- Extract the Downloaded Files: Using a file extraction program, extract the downloaded firmware files.
- Copy the Files to MicroSD Card: Drag and drop the extracted firmware files onto the root directory of your MicroSD card.
Step 4: Adding Your Homebrew Files and Files Homebrew Applications
- Obtain your Homebrew Apps: Ensure that you have legal copies of the ROMs and homebrew applications you wish to use.
- Create Folders on MicroSD Card (Optional): For organizational purposes, you can create folders named 'GBA', 'GBC', 'GB' to quickly find the files you want to use.
- Copy Homebrew Game And App ROMs to the MicroSD Card: Place your application files into the respective folders or the root directory of the MicroSD card.
Step 5: Inserting the MicroSD Card into the EZ Flash Omega
- Remove the MicroSD Card from Computer: Safely eject the MicroSD card from your computer.
- Insert MicroSD Card into EZ Flash Omega: Locate the MicroSD card slot on the EZ Flash Omega cartridge and insert the card.
Step 6: Inserting the EZ Flash Omega into the Game Boy Advance
- Insert the Cartridge: Place the EZ Flash Omega Definitive Edition cartridge into your Game Boy Advance system.
Step 7: Booting Up and Configuration
- Power On Your GBA: Turn on your Game Boy Advance.
- Access the EZ Flash Menu: The EZ Flash menu will automatically load and bring you right to the main menu of the EZ Flash Omega
- Configure Settings (Optional): Adjust any settings like skin, button configuration, or update firmware if needed.

Step 8: Loading and Playing Games
- Navigate to the Game List: Use the GBA buttons to navigate through the EZ Flash menu to find your list of games.
- Select and Play: Choose the game you want to play and press 'A' to start.
Conclusion
Setting up the EZ Flash Omega Definitive Edition is a straightforward process. By following these steps, you will be ready to enjoy. Remember to always use legally obtained ROMs and respect software copyrights. Enjoy your enhanced gaming experience with the EZ Flash Omega Definitive Edition!
 Loading... Please wait...
 Loading... Please wait...